

File Set Up Guide

01
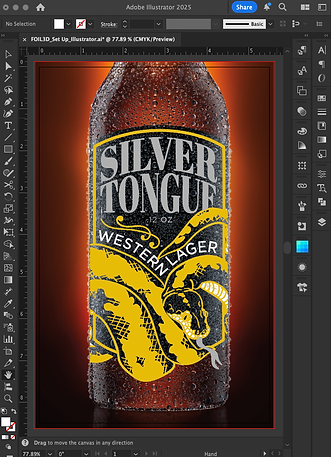
Open Your File
Start by creating or opening your file in Illustrator.
For this example, the finished trim size of the document will be 5.5 inches wide by 8.5 inches tall. We will need a minimum of 0.125 inch bleed on each side.
Color Mode is set as CMYK, and Resolution is 300 ppi.
02
Prepare Your Layers
This example file will include the following enhancements:
-
Gold Foil
-
Silver Foil
-
SculptedUV (SUV for short)
Artwork for each enhancement will need to be separated onto its own layer, with any base artwork (printing CMYK) left separate as well. The names for these layers do not matter for printing, so long as they are organized in a way you can differentiate them from each other.


03
Select Artwork
Next, we need to select the vector artwork on each layer receiving an enhancement. To do this, open the Layers Panel and click the "Target Icon" (small circle) next to the layer name to select all objects within that layer.

In the "New Swatch" window, name your spot color "Scodix". Double-check that the spelling is correct, and the "S" is capitalized. This is a vital step in order for the press to read your files accurately.
Make sure the "Color Type" is set to "Spot Color", and "Color Mode" is set to "CMYK".
Your CMYK values should be as follows:
-
C: 50
-
M: 100
-
Y: 0
-
K: 0
04
Create Your Spot Color
With your artwork selected, it's time to create the specialty color that will be used for any layers receiving enhancements.
To do this, find your "Swatched" window, select the hamburger menu on the top right corner and select "New Swatch..."


05
Vectorize Images
Vector artwork is the best way to set up masks for foil or SUV. If your artwork is using raster imagery, an easy solution to convert it for your intended enhancment would be the "Image Trace" tool.
In Illustrator, go to Window > Image Trace. Make sure your mode is set to black and white, and adjust your settings until you are happy with the result.
Final tracing results can vary depending on the quality and complexity of the original image and may not be suitable for every raster file. Enhancement layers must be created using a single solid color, without gradients or shading. If an image contains many colors or heavy shadows that result in lost detail, you may want to refine the original concept or explore an alternative approach to achieve the best enhancement result.
Once your artwork is vectorized, you can now select the black fill area and change it to your new "Scodix" spot color, as done in step #4.
You can now also delete any additional colors created with the Image Trace tool, for this example, the white background will be removed.
The only color left on any enhancement layer should be your spot color.


06
Adjusting your Bleed
Once all of your layers are complete, double-check that all enhancements are at least 1/16” or 0.0625" away from the edge of your artboard size.
This rule also applies to any folds and binding edges as well. Enhancements may need to be adjusted further depending on the type of binding used, as well as the final size of the book.
Your base layer artwork should extend 0.125" outside of your artboard size.


07
Export Your Files
Once all of your enhancement layers are finalized, it's time to save out your files.
Make sure only one of your layers is visible at a time, then go to File > Save As, use the drop down menu to find "Adobe PDF" and click "Save". Use the "High Quality Print" setting, then in the Marks and Bleeds tab, make sure you have "Crop Marks" checked, and your bleed settings are set to 0.125". If you set up the bleed correctly in your file, you can also check "Use Document Bleed Settings".
Don't forget to save out your base artwork layer normally, with all other layers hidden.
For this example, the final exported files should be as follows:
-
FOIL3D_Illustrator_GOLD FOIL.pdf
-
FOIL3D_Illustrator_SILVER FOIL.pdf
-
FOIL3D_Illustrator_SUV.pdf
-
FOIL3D_Illustrator_Base.pdf
That's It!
Once these steps have been completed, you should be left with something that looks like this.


